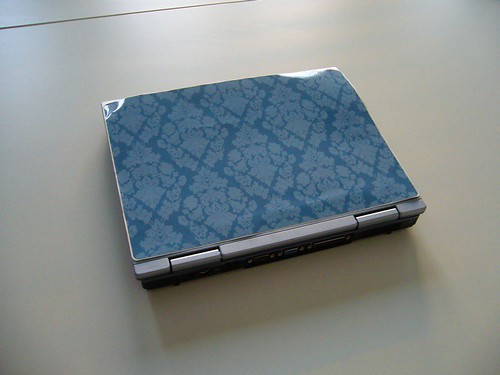
a simple how-to instruction photo series on how to apply a laptop skin sticker to your notebook. these instructions generally apply to all kinds of notebook stickers, but they were photographed and written by and for www.laptopskins.net

step 1: make sure your notebook is clean. wipe it off with a soft cloth. the notebook should be free of dust, fat and grease - otherwise the laptopskin may not stick to your laptop as well as it's supposed to.
step 2: check if the laptop skin size is correct. you can always trim the size of the skin with a cutter knife. if your laptop has hinges like the one shown, you could cut out the hinges from the skin to have an even more perfect fit.
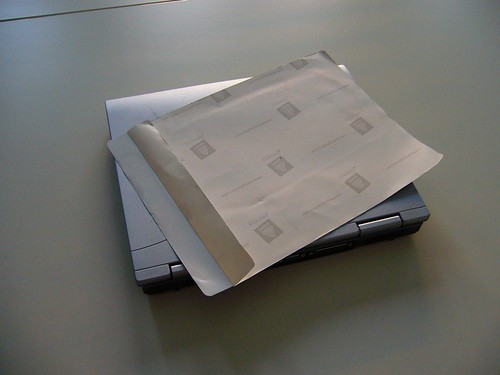
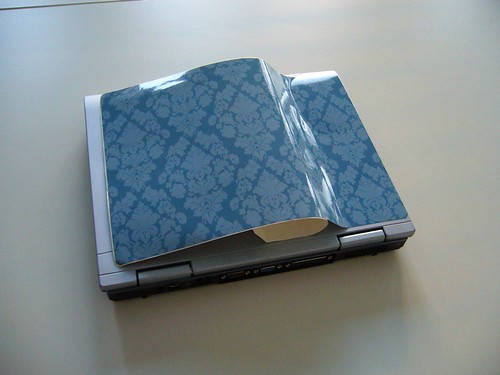
step 3: peel away a small part of the sticker.
step 4: align the laptop skin on your notebook. take care that you put it on straight and in the exact position that you want to place it. as long as you don't push down on the exposed part of the sticker, you're free to move the skin around as you wish.
step 5: stick down the first part of the skin once you're certain you have it in the right position.
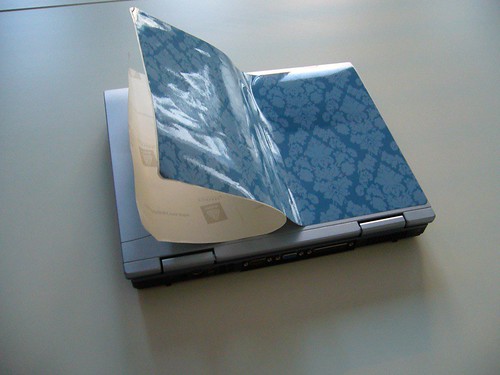
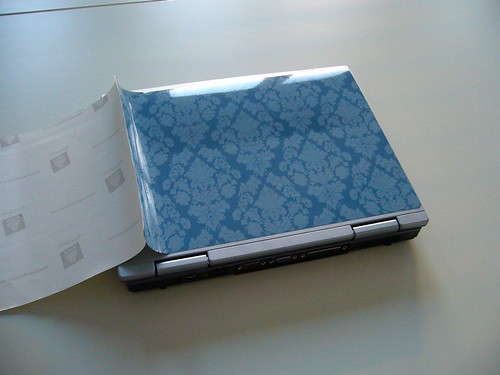
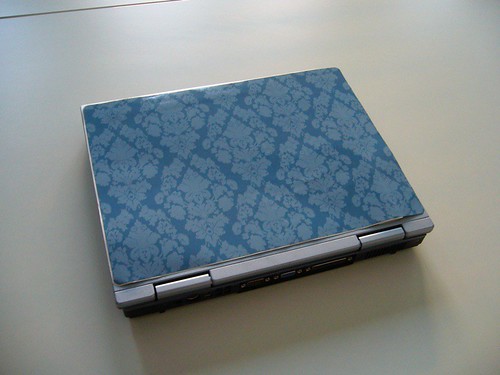
step 6: peel off the remaining sticker backside slowly, while at the same time gently pushing down on the exposed skin. by sticking it on gently bit by bit, you can avoid air bubbles under the skin. if there are bubbles under the sticker, simply peel it back a little and stick it back on.
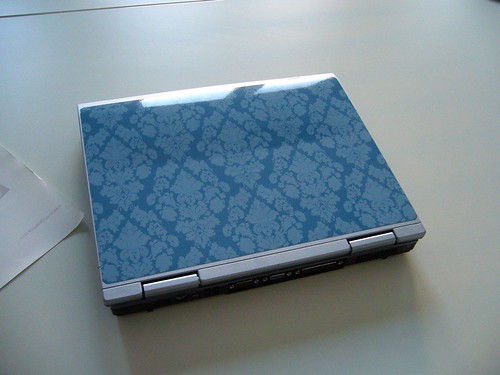
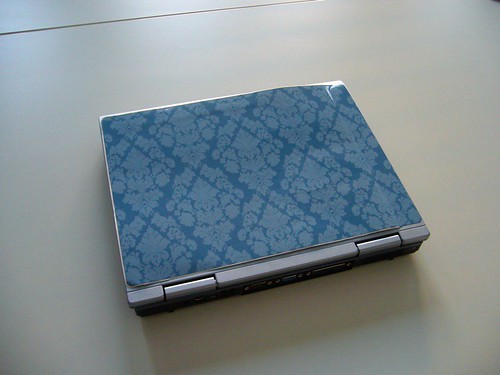
step 7: you're done! ta-daa! see, that was easy - and the result is stunning, don't you think?
2 comments:
Very simple and clear instruction on how to apply laptop skin sticker.
Are you considering to put up this tutorial into youtube so that many more poeple can also watch this?
Great stuff!!! Im getting a lap-top next week...but i am more excited with the sticker =)
Post a Comment